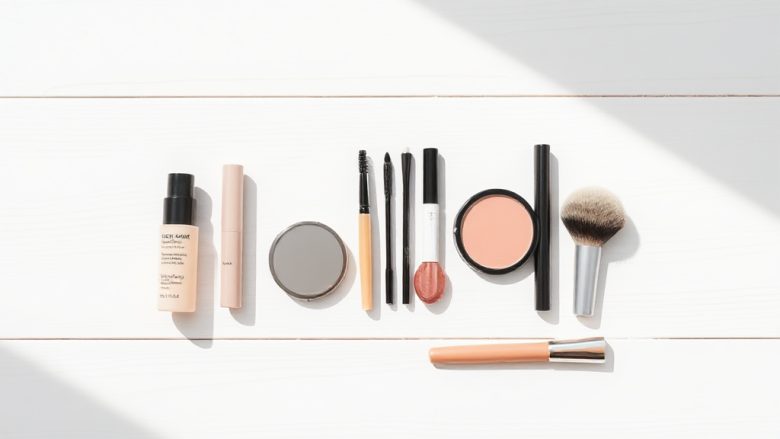
Everyday makeup tips for beginners don’t need to involve a drawer full of products you don’t understand. Most people who look polished on a normal Tuesday are using five or six items, not fifteen. The trick isn’t buying more. It’s learning a short, repeatable order of steps so your hands know what to do before your brain wakes up.
This is that order. Treat it as a checklist you can run through in ten minutes, then adjust once you know what your own face likes. Nothing here requires a makeup artist’s brush roll, and nothing is going to look like a costume.
The Beginner’s Everyday Makeup Checklist, Step by Step
Work through these in order. Each step builds on the one before it, which is why doing them out of sequence usually ends in smudges and starting over.
1. Start with clean, moisturised skin
Makeup sits on top of your skin, so whatever is underneath shows through. Wash your face, pat it dry, and apply a light moisturiser. Wait a minute or two before the next step. If your skin is still tacky, foundation will slide around instead of settling.
If you have oily skin, a moisturiser labelled for combination or oily skin keeps shine down without drying you out. If you’re dry, something richer stops foundation from catching on flaky patches. This step matters more than the foundation you choose, honestly.
2. Add sunscreen if your moisturiser doesn’t already have it
Daily sun protection is the single most effective thing you can do for how your skin ages, and makeup with SPF in it rarely gives you enough coverage on its own. Use a dedicated sunscreen under your base, or pick a moisturiser with broad-spectrum protection built in. Let it absorb fully before you continue.
3. Prime only where you need it
Primer is optional, and beginners often buy it before they know whether they want it. If your makeup tends to disappear by lunchtime, a primer on your T-zone helps it hold. If your skin is normal and your base lasts fine, skip it and save the money.
4. Apply a light base, not a full-coverage one
Here’s where most beginners go wrong. A heavy foundation applied all over the face reads as makeup, not as good skin. Start with a tinted moisturiser, a skin tint, or a light-coverage foundation, and apply it with your fingertips or a damp sponge. Press it into the skin rather than sweeping it across.
You don’t need to cover everything. Freckles, moles, and a bit of natural redness are not flaws to be erased. If you want a little more coverage in specific spots, that’s what the next step is for.
5. Spot-conceal instead of layering more foundation
Dot concealer only where you actually want it: under the eyes if you’re tired, on a blemish, around the sides of the nose. Blend the edges with a small brush or your ring finger, which applies the gentlest pressure. Tap, don’t rub. Rubbing wipes the product off the exact spot you were trying to cover.
Match concealer to your skin tone, not lighter than it. A too-light concealer under the eyes is the fastest way to look like you’re wearing a mask.
6. Set the areas that get shiny
Powder goes where you get oily, not everywhere. A light dusting across the forehead, down the nose, and on the chin keeps your base in place without flattening the rest of your face. Use a fluffy brush and tap off the excess before it touches your skin. If you have dry skin, you can skip powder entirely or use it only under the eyes.
7. Fill in your brows lightly
Brows frame the face, and even a small amount of definition makes a difference. Use a brow pencil or a tinted gel and follow the natural shape you already have. Short, light strokes look more like hair than one solid line drawn across the whole brow. Start at the arch and work outward, then soften the inner edge with the spoolie brush on the other end.
If your brows are already full, a clear or tinted gel alone is plenty. Don’t overthink this one.
8. Add one wash of colour to the eyes
You don’t need a palette for everyday makeup. Pick one neutral shade — a soft taupe, a warm brown, a muted bronze — and sweep it across the lid with your finger or a flat brush. Blend the edge upward slightly so there’s no harsh line. That’s it.
If you want a little more, run the same shade along the lower lash line with a small brush. One colour used well beats four colours used nervously.
9. Curl your lashes, then apply mascara
Curl your lashes before mascara, never after, or you’ll pull them out. Hold the curler at the base for a few seconds, then squeeze again halfway along the length. For mascara, wiggle the wand at the roots and sweep outward. One coat for daytime, two if you want more definition. Skip the bottom lashes if you’re prone to smudging.
10. Warm up your complexion with blush
Blush is the step beginners skip and then wonder why they look flat. A soft peach, rose, or berry — depending on your undertone — applied to the apples of your cheeks and blended up toward your temples brings life back into the face. Cream blush is forgiving on dry skin; powder is easier to control if you’re oily. Smile while you apply, then blend once you relax your face.
11. Define your lips
A tinted balm, a sheer lipstick, or a lip liner used as a base all work for everyday. Anything that feels comfortable enough to forget about is the right choice. If your lips are dry, exfoliate gently with a damp cloth first and apply balm before colour.
Keep it close to your natural lip tone if you’re unsure. A shade that’s only slightly deeper than your own lips is almost impossible to get wrong.
12. Finish with a setting spray
Setting spray melts the layers together so you don’t look like separate products sitting on your face. Hold the bottle about a foot away and mist in an X and then a T shape across your face. Let it dry on its own — don’t pat it in.
Common Beginner Mistakes and How to Avoid Them
Knowing the steps is half the battle. These are the habits that trip up almost everyone in the first few months.
Buying everything at once. Start with a base, a concealer, a brow product, mascara, blush, and one lip colour. That’s a complete everyday face. Add eyeshadow, liner, and highlighter later, once you’ve worked out what you actually enjoy using.
Testing new products on a busy morning. Give anything new a trial run on a day when you’re not rushing. If a foundation oxidises or a mascara flakes, you want to find out at home, not at your desk.
Applying makeup in poor light. A window with daylight is the best mirror light you have. Bathroom lighting is often too warm and too dim, which is why your base looks perfect at 7am and orange by 9am.
Using dirty brushes. Brushes and sponges collect oil, dead skin, and bacteria, and they stop blending properly once they’re saturated. Wash sponges weekly and brushes every week or two with gentle soap. It takes five minutes and it genuinely changes how your makeup applies.
Chasing trends that don’t suit your face. A look that works on someone else may not work on you, and that’s not a failure. Everyday makeup should make you look like a slightly more rested version of yourself, not like somebody else entirely.
Forgetting to remove it all at night. Sleeping in makeup clogs pores and leaves your skin duller over time, which then makes tomorrow’s makeup harder to apply. A simple cleanser and a bit of patience at the end of the day is part of the routine, not an optional extra.
Once you’ve run through this checklist a dozen times, it stops feeling like a checklist. Your hands learn the order, you stop needing to think about technique, and the whole thing takes less time than making coffee. That’s the goal — not a perfect face, just a routine you can trust on an ordinary morning. Start with the six essentials, get comfortable, and let the rest arrive when you’re ready for it.